Master the Art of Timber Fence Painting: An Aussie Tradie’s Guide
G’day! If you’re looking at your backyard fence and thinking it’s seen better days, you’re not alone. After 15 years in the trade, I’ve seen more grey, weathered timber across Australian suburbs than I’ve had hot dinners. The fence is the frame of your home-if the frame looks tatty, the whole picture suffers.
Timber fence painting isn’t just about slapping on a coat of whatever is left in the shed. In our climate, it’s the first line of defence against the elements. Whether you’re a homeowner wanting to spruce up the yard for a summer BBQ, or an investor looking to add value before a sale, getting the fence right is one of the most cost-effective renovations you can do.
Here is my comprehensive guide on how to get a professional finish that will last.
Why Your Timber Fence Needs Protection
In Australia, we don’t just have weather; we have extremes. The UV index here is off the charts compared to Europe or North America.
If you leave raw timber exposed, the UV rays break down the lignin (the natural glue holding wood fibres together), causing the surface to turn grey and fuzzy. Once that happens, moisture gets in, leading to rot, warping, and eventually, the termites moving in for a feast.

When we talk about painting wooden fences, we are really talking about waterproofing and UV shielding. A quality coating system stops the timber from soaking up rain like a sponge and drying out too fast in the baking sun, which is exactly what causes splitting.
Choosing the Right Product: Paint vs. Stain
Before you head to the hardware store, you need to decide on the finish. This is one of the most common questions I get asked.
Exterior Paint
If you want a solid colour and maximum protection, go for a self-priming exterior paint. Brands like Dulux Weathershield, Taubmans All Weather, or Wattyl Solagard are the gold standard here. They are flexible, meaning they expand and contract with the timber as the temperature changes.
- Pros: Hides imperfections, lasts longer (10+ years), offers the best UV protection.
- Cons: hides the grain of the wood.
Timber Stain or Oil
Stains soak into the timber rather than sitting on top. They come in water-based (like Haymes Paint Dexpot) or oil-based varieties.
- Pros: Keeps the natural look, won’t peel or flake (it just fades).
- Cons: Needs recoating more often (every 2-4 years), offers less UV protection than solid paint.
If your fence is old and the timber is a bit rough, I usually recommend a solid fence painting job over a stain. The solid colour hides the sins of the past much better.
Preparation: The “Make or Break” Step
I cannot stress this enough: painting is 80% prep and 20% application. If you paint over dirt, mould, or grey wood fibres, the paint will peel off in sheets within six months.
Clear the Area
Trim back any bushes, tie back heavy branches, and rake away dirt from the bottom of the fence palings. You don’t want your brush picking up soil and dragging it up the fence.
Clean and Wash
You need to remove the dirt, cobwebs, and that grey layer of dead wood cells. A pressure washer is great here, but be careful not to use the high-pressure “pencil” jet, or you’ll fur up the timber. Use a wide fan spray. If there is mould (black or green spots), treat it with a mould killer first.
Repairs
Walk the length of the fence. lush in any protruding nails and screw in any loose painted wooden fence palings. If a paling is rotten, replace it now. It’s not worth painting over rot.
Sanding (Optional but Recommended)
If the timber is very fuzzy after washing, give it a quick scuff sand with 80-grit paper once it’s dry. This knocks off the loose fibres and gives the new paint a solid surface to grip onto.
The Application: Brush, Roller, or Spray?
How you apply the paint depends on your budget, your patience, and the size of the fence.
- The Brush: Good for cutting in edges and getting into nooks and crannies. You will always need a good brush for the tops and sides of the palings, even if you roll the faces.
- The Roller: A medium-to-long nap roller (12mm to 20mm) is perfect for rough sawn timber. It pushes the paint into the texture of the wood. This is the standard DIY method for painting timber fences.
- The Spray Gun: This is how we pros do it. An airless sprayer gets the job done in a fraction of the time and pushes paint deep into the gaps between palings that a brush struggles to reach.
However, the masking required is extensive. If you spray, you must cover everything nearby-cars, the house, the neighbour’s washing line-because overspray travels.
Step-by-Step Guide to Painting
Here is the process I follow on every job:
- Check the Weather: Don’t paint if it’s below 10°C or expected to rain within 4 hours. Also, avoid painting in direct, scorching midday sun (30°C+), as the paint dries too fast and won’t bond properly.
- Prime (If needed): Most modern exterior paints are self-priming on timber. However, if the wood is rich in tannins (like Merbau) or treated pine that’s bleeding knots, use a stain-blocking primer first.
- Cut In: Paint the tops, bottoms, and edges of the palings first.
- Apply First Coat: Apply generously. Timber is thirsty! If you are rolling, work in sections of about 4-5 palings. Lay the paint off with long vertical strokes.
- Dry Time: Wait the recommended time (usually 2-4 hours).
- Apply Second Coat: Never skip the second coat. The first coat seals; the second coat provides the colour depth and the weather protection.
- Clean Up: Wash your brushes in water (if using acrylic) immediately.
If you are looking to repaint wooden fence structures that have already been painted, just ensure the old paint is sound (not flaking) and give it a good sand before starting.
Current Aussie Fence Trends
Design trends in Australia have shifted significantly in the last few years. The days of “Mission Brown” are thankfully behind us.
The “Monument” Look
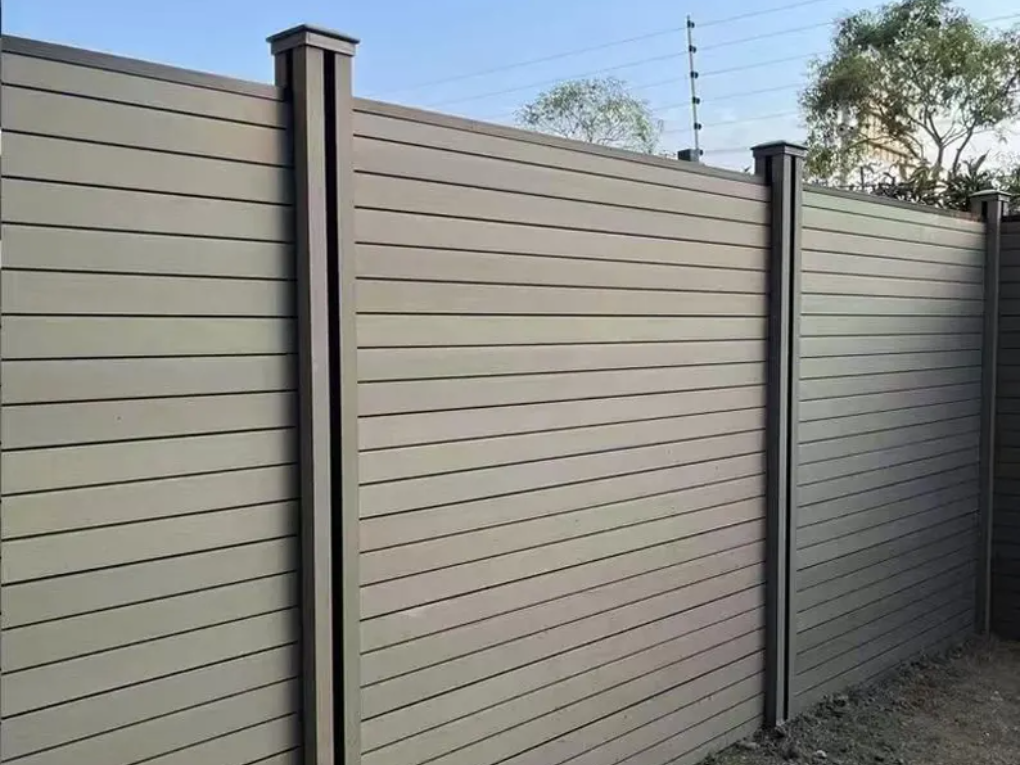
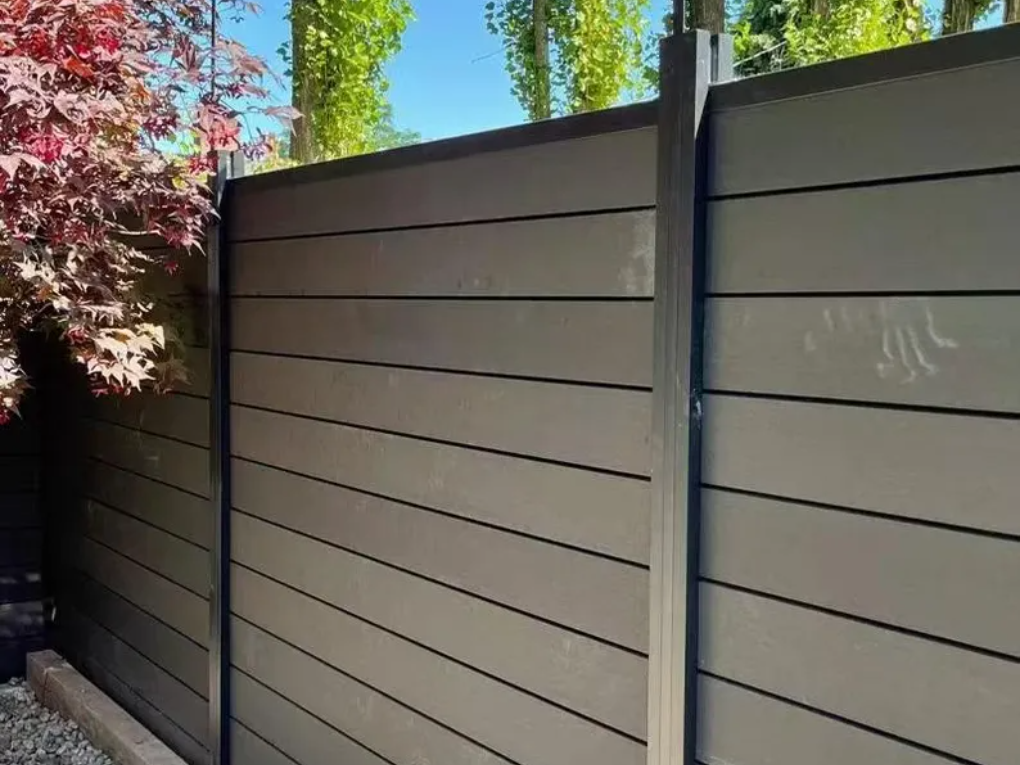
By far the biggest trend right now is painting fences in dark charcoals or deep blacks (like Colorbond Monument or Dulux Domino).
Why it works: Dark fences make the green foliage of your garden pop. The fence visually recedes, making the backyard look bigger. It’s a staple of the “Modern Coastal” and “Industrial” looks.
Hamptons Style
This involves a crisp, vivid white. It’s usually seen on picket fence painting jobs at the front of the property. It looks clean and expensive but be warned: white shows dirt and splashback from rain much more than darker colours.
Federation Restoration
For heritage homes, we are seeing a return to classic creams, weak greens, and deep reds that match the gutters and fascia of older Aussie homes.
Common Mistakes to Avoid
- Painting Wet Wood: If you pressure wash on Saturday morning, don’t paint on Saturday afternoon. The timber needs to be bone dry. If moisture is trapped under the paint, it will blister.
- Skipping the Gaps: When wood fence painting, the sides of the palings are where rot usually starts. If you only paint the face, moisture gets in the sides and rots the wood from the inside out.
- Using Interior Paint: It sounds obvious, but I’ve seen it. Interior paint cannot handle UV. It will chalk and wash off in six months.
- Buying Cheap Paint: Cheap paint is mostly water and filler. It won’t cover well, and it won’t last. In the Australian sun, you get what you pay for.
Professional Application for a Flawless Finish
While timber fence painting is certainly a doable DIY project, it is physically demanding. Prepping hundreds of palings, kneeling in the dirt to do the skirting boards (or plinth boards), and reaching high sections can take a toll on your back and knees.
At VicPainter, we utilize professional-grade airless spray equipment that allows us to apply a thicker, more even coating than a roller can achieve, and we do it in a fraction of the time. We handle the pressure cleaning, the tedious masking of your property, and the clean-up.
Because we know the local conditions, we also know exactly which paint formulas stand up to the specific weather patterns in your suburb, ensuring your painted timber fence looks sharp for years, not just months. We ensure every nook, cranny, and overlap is sealed against the weather.
Frequently Asked Questions
How much does it cost to paint a fence?
Cost varies based on the condition of the wood, the height of the fence, and access. Generally, painters charge per linear metre. If the fence requires heavy sanding or repairs, the price increases. For a standard 3-bedroom home perimeter, it’s best to get a quote, as materials (paint) make up a significant portion of the price.
Can I paint treated pine straight away?
New treated pine is often full of moisture and oils from the treatment process. It feels damp to the touch. You should generally wait 4-6 weeks for the timber to “season” and dry out before painting, otherwise, the paint won’t adhere.
Is spraying better than brushing?
Spraying is faster and better for getting into gaps, which improves the seal of the timber. However, brushing or rolling (back-rolling) pushes the paint into the grain better. The best method is often a combination: spray the paint on to get it on the surface, and then back-roll it while wet to work it into the wood fibres.
How often should I repaint my timber fence?
If you use high-quality paint like Weathershield, you should get 10-15 years out of vertical timber surfaces. Stain or oil will need maintenance every 2-3 years. If you see the paint chalking or the timber turning grey, it’s time to act before rot sets in.